A good general purpose shield for incorporating an LCD, buttons and a real time clock (RTC) into any Arduino Uno or other compatible Arduino product.
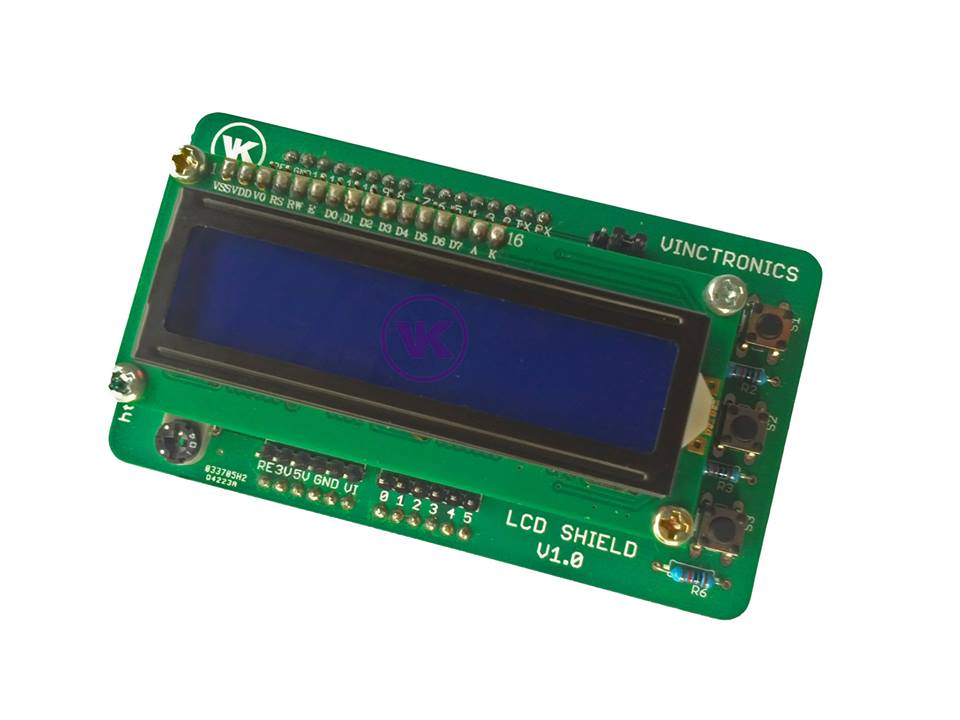
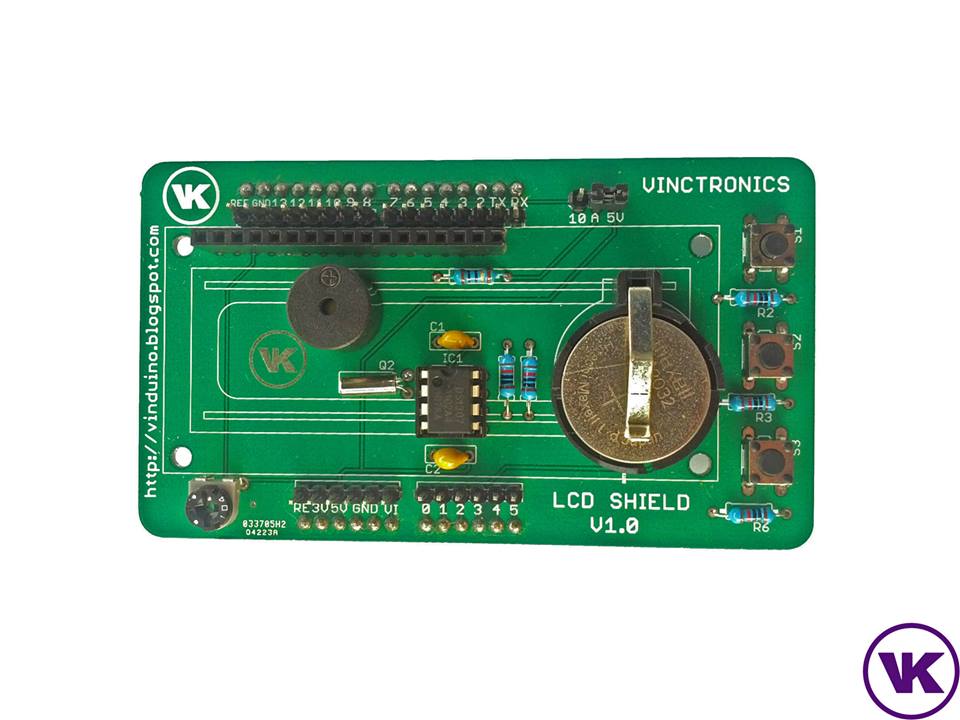
This neatly laid out shield incorporates a 16×2 LCD shield with a white LED back light with stand offs for raising it above the other components on the board, a DS1307 RTC with battery backup for memory, and three tact switches.
The tact switches are set up for easy novice use. You don’t need to debounce these because they each have a different resister value. So they are read with analogRead(); to get the specific analog value associated with each switch and then an if statement is used to create an action or function for the switch to control.
The LCD is also great for the novice Arduino programmer since it the most common LCD to use with an Arduino, uses the most common LCD library, and does not use I2C. Also, the LCD is easily interchangeable with other LCD’s that use a 16 pin header. Just unscrew the stand offs and remove the LCD to replace with the one of your choice.
The RTC feature isn’t as novice friendly. However, that is no fault of this shield’s design. The DS1307 RTC uses I2C for its interface and has many libraries around the Web. Just choose the library that best suits your needs (with a little Googling), or use the one suggested by Vinduino of Vintronics. There is a little bit of a learning curve associated with the RTC, but it is worth your time if you ever want to incorporate time or timing into your Arduino project.
Personally, I prefer the LCD to use an I2C rather than directly connecting the 16 pin header to the Arduino. I like keeping the digital I|O ports for other peripherals. I2C saves those valuable I|O ports by only using the Arduino’s SCL and SDA ports (A5, and A4) for two wire communication. Also, although this IS a great novice shield, the use of analog values to read a switch slows down things a bit. You have to press the tact switch for a little less than a half a second to get a read from it based on the example code provided for the shield. However, this may be sped up a bit with a little coding finesse.
So, if you are new to Arduino or just want a well made, easy to work with shield, then this is the one for you. So many board developers forget about building shields that are easier for a novice to get started with. Thanks Vincent Kok at Vintronics for this great shield . Good work!
Links to the developer:
http://www.facebook.com/vinduino
http://www.youtube.com/vick5821

You must log in to post a comment.